This 5-minute video provides an overview and example of a Modular Page.
This 5-minute video provides an overview and example of a Modular Page.
This 6-minute video demonstrates how to create a Modular Page.
The web team has created some examples for commonly used pages.
Do you have a basic page on your site that you’d like to add more visual elements to? Something that you’ve seen on a modular page, perhaps? Unfortunately, making the switch from a basic page to a modular page is not a simple click of a button. In order to be able to use modular page elements, a new modular page needs to be created from scratch, which will replace the basic page. You can find ideas or request a pre-populated template at Webpage Templates.
Follow these steps to transition a basic page to a modular page:
Modular pages are created using rows for content and pre-designed web elements to create a more visually appealing and functional page.
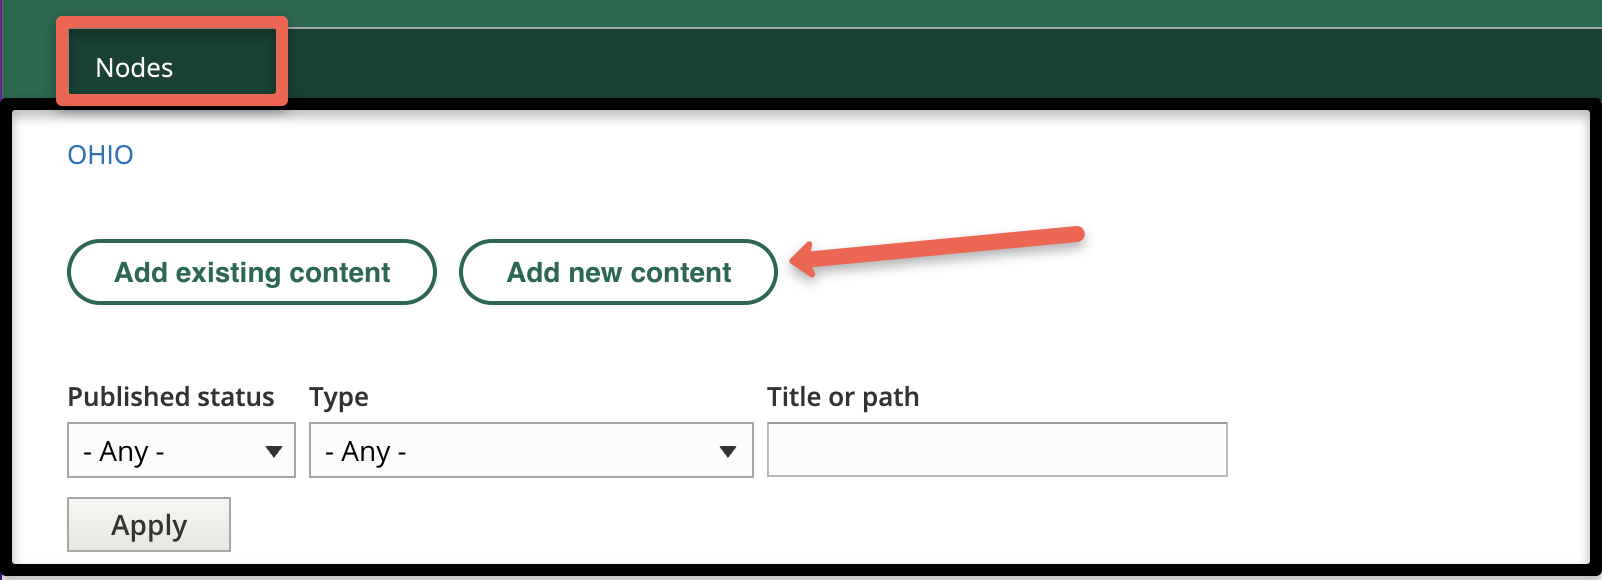
To create a modular page, click on "Nodes" and you'll see a list of all available nodes in your group. Choose "Add New Content" then choose "Modular Page" in the list of content types.
This is a required field. The title will be displayed at the top of the main content area and be used to generate the URL. Use care when creating page titles and be sure the title represents the content and uses key words. Keep them short and to the point. While special characters can be used, they require encoding within a URL to work correctly and should be used only when necessary.
You can only edit this AFTER you save the page the first time. This is the URL to your page.
The Hero image and features can be added to add interest and functionality. Learn to Create the Hero
This is where you add the main content for this page.


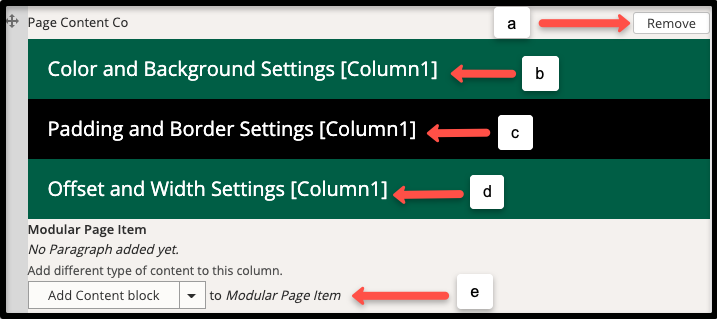

You can also add additional rows with web elements to display your content for the best user experience.
The right sidebar is an option if you have related content (examples: a callout, stat, or related links).
Create the correct URL path for the page by choosing the appropriate parent folders under Page Location. Correct page location selection will help ensure proper website structure and avoid improperly nested pages. Updating the page location automatically updates the URL for the page. Note: Selecting a page location does not auto-populate the menu with the node.

Default is 1 column and the content expands across the page. Change the Columns to 2 if you want the the left navigation to appear on the page.

Editors should mark a page as "Needs Review" for a publisher to revise before it becomes a live node.
Publishers should review the page for accuracy, usability, and accessibility before making a node live.
Review Publishing options if needed.
Schedule a video chat with Shelli Minton (sminton@ohio.edu) if you have additional questions.
Explore the different web elements to find the one best suited to display your content. Most are intuitively built once you add the element to your row, but written instructions are provided. Contact Shelli Minton (sminton@ohio.edu) if you have specific questions.