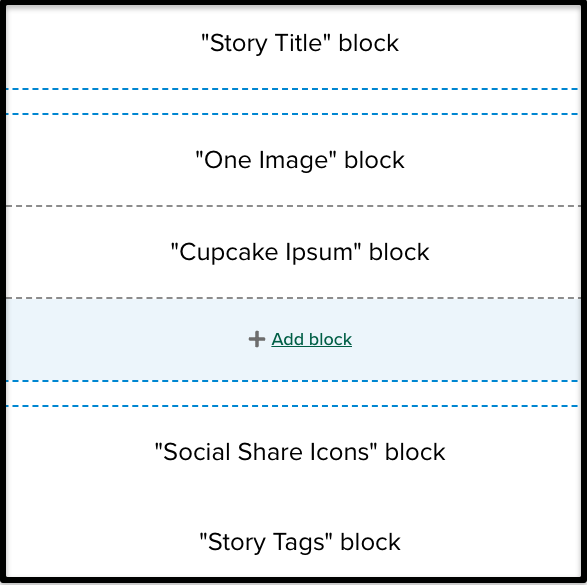
Hover over the block and use the crossed arrows to drag and drop the blocks to another position on the page. This may be easier to do if you uncheck the Preview Content box (found at the top of the screen).
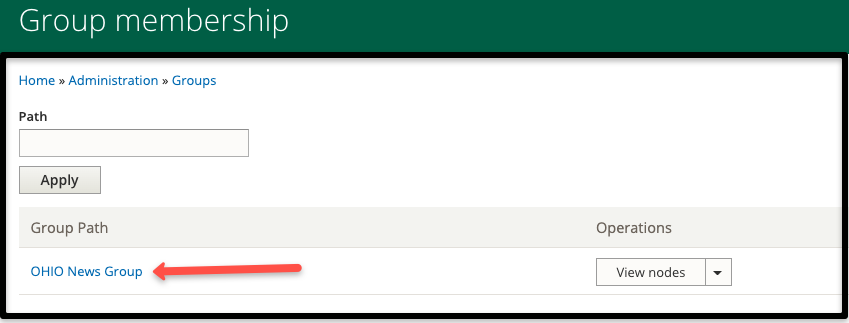
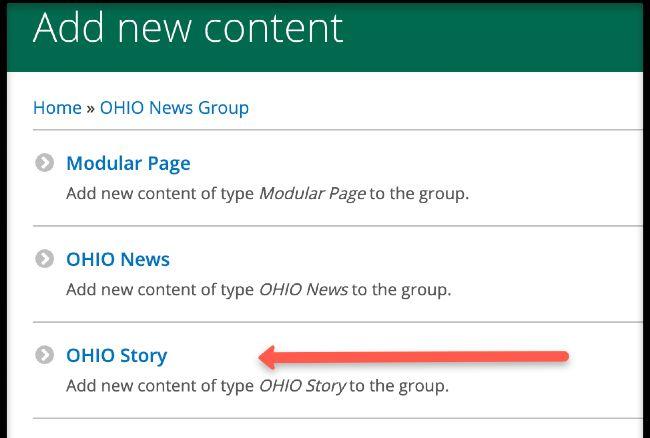
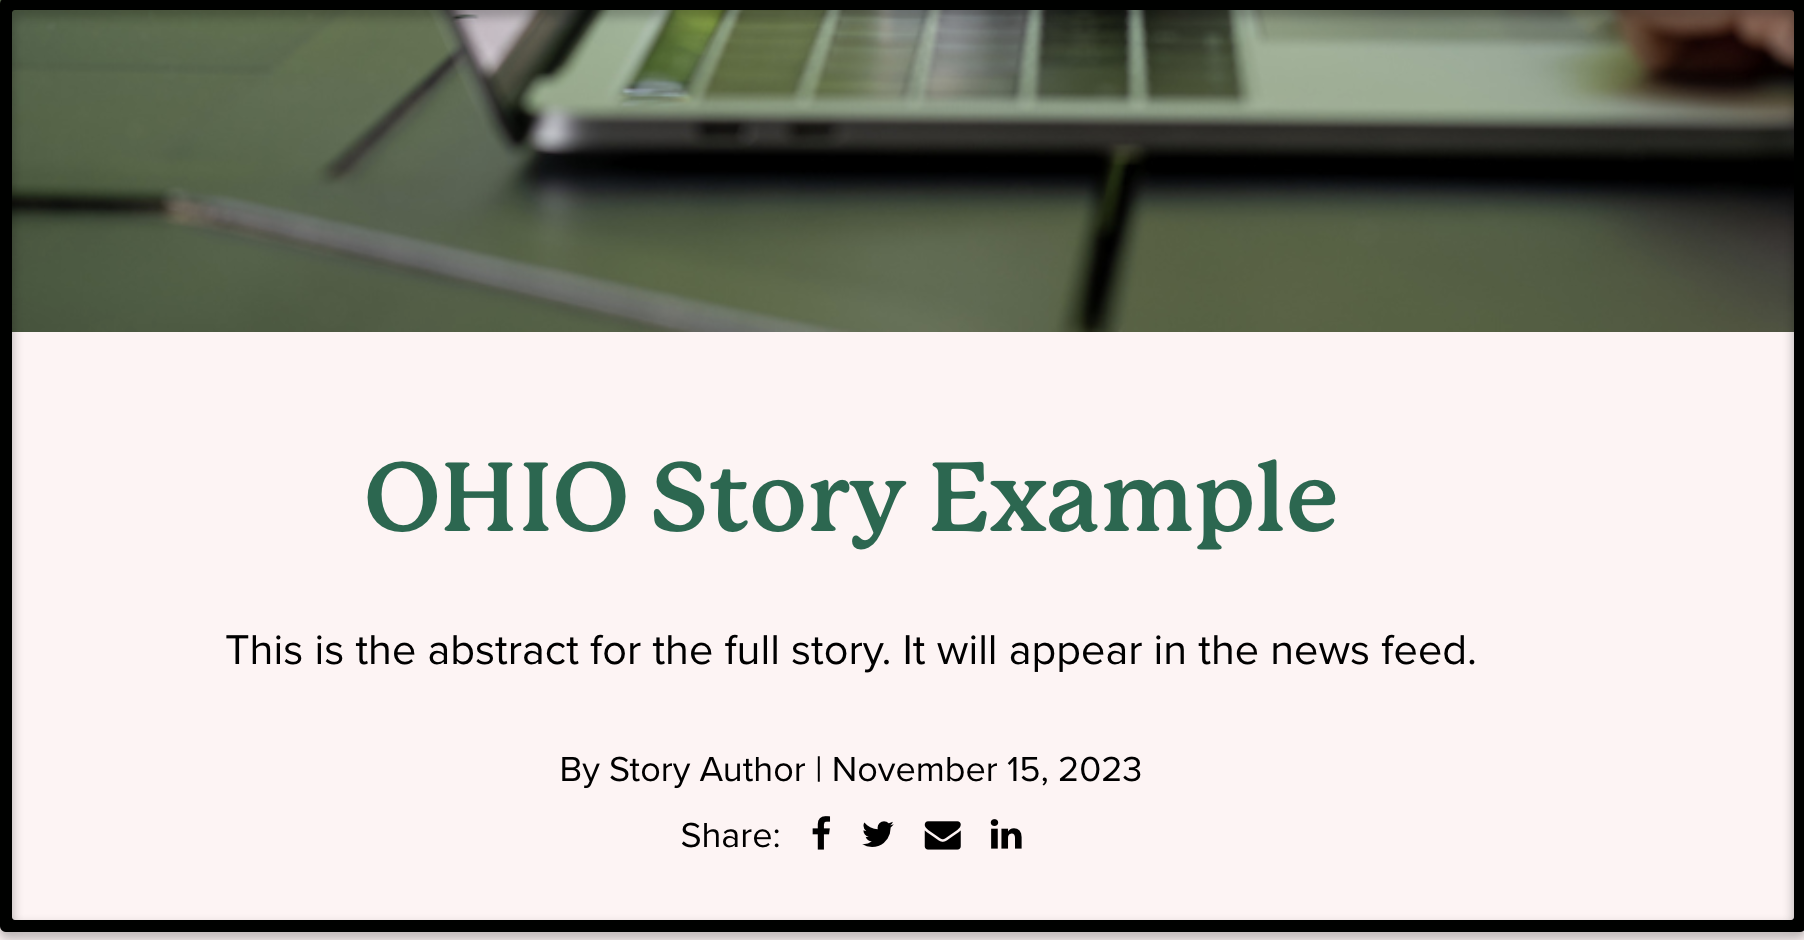
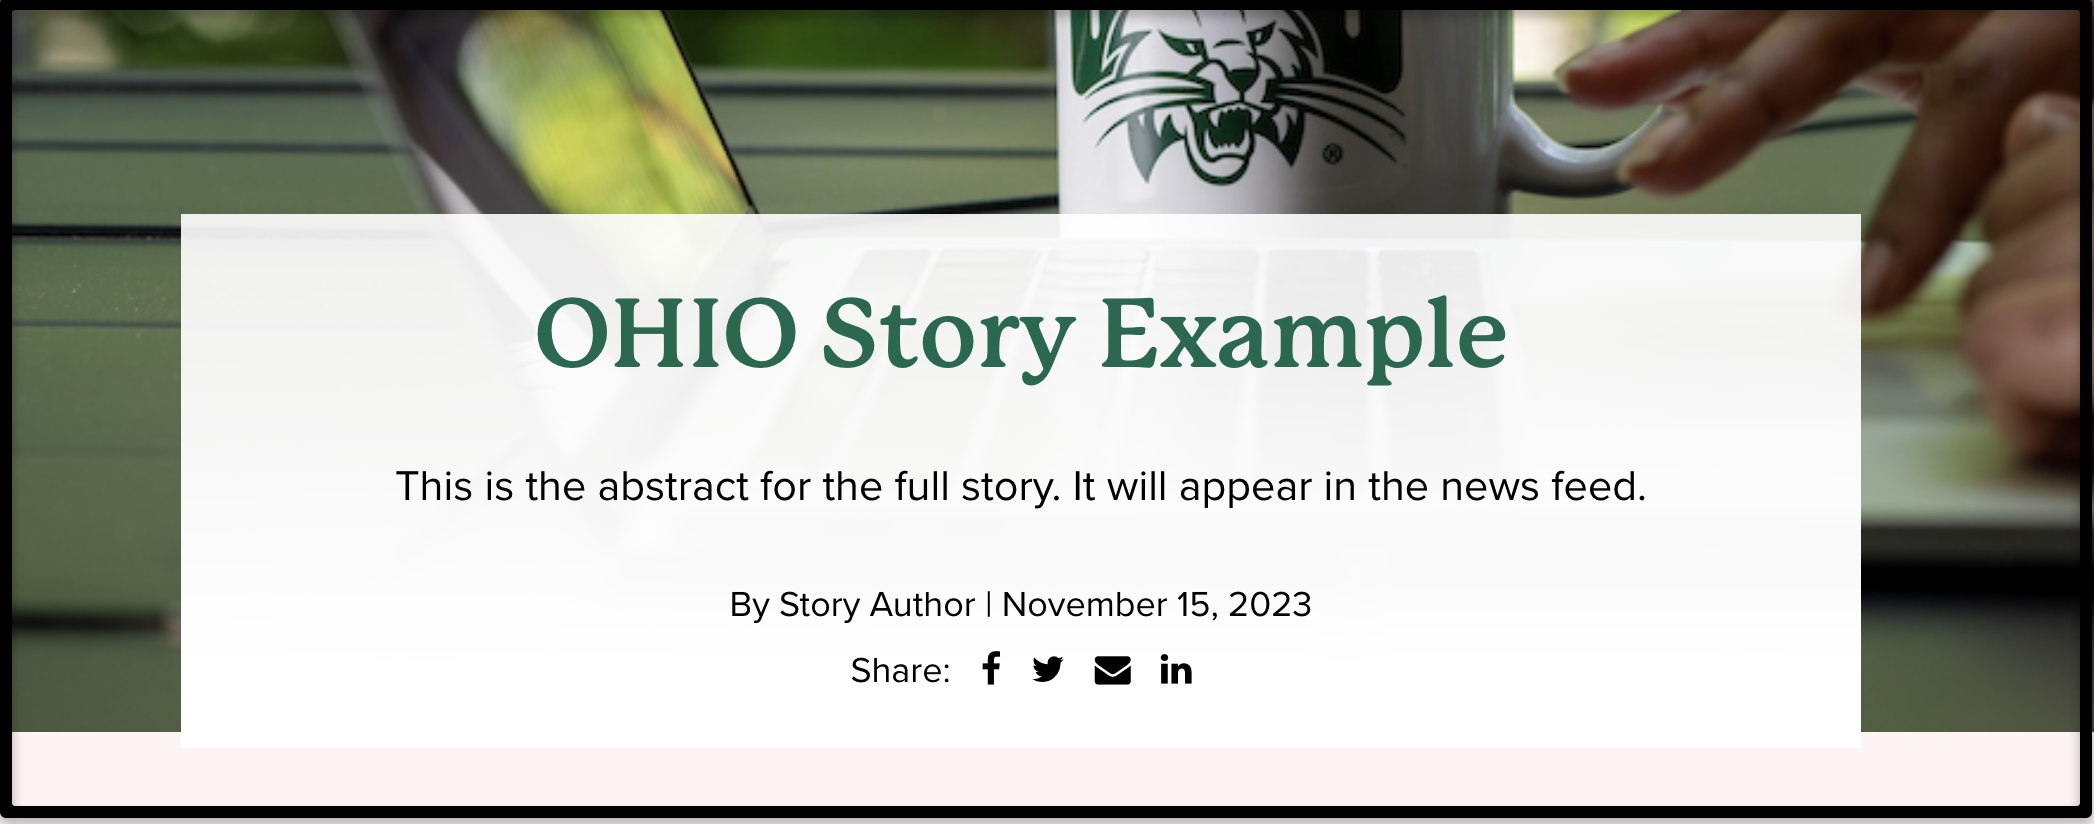
"OHIO Story" is a content type used by the University News team for different types of news or content articles. It has different functionality and display options than the OHIO News content type and allows for more flexible, visual elements. Stories are created in 2 different interfaces. The first one resembles the regular news article. You will utilize a second interface called Layout in order to build the body (actual content) of your page.


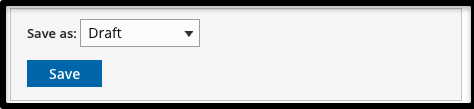
Once your page is saved as a Draft, you will see the option for Layout at the bottom of the screen.

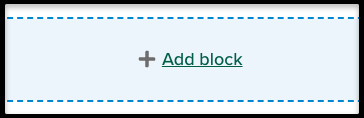
Layout Builder utilizes a variety of pre-designed blocks to add content, instead of content rows like a modular page. Blocks will be added along the right side of your browser and can be easily edited or dragged and dropped to reorder sections.
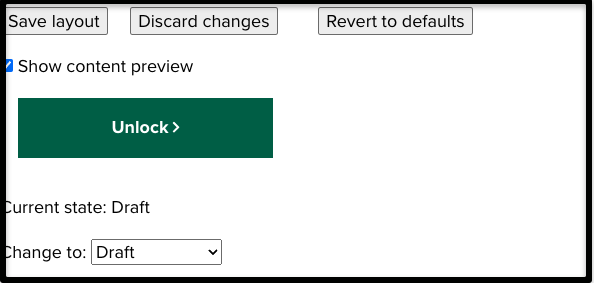
NOTE: The options for saving or discarding your layout edits are at the top of the screen. The checkbox for "Show content preview" allows you to show or hide the preview of the content you have added in order to move blocks around more easily.

Images must be sized correctly before you add them to a block.
Images should also be compressed to smaller file size according to best practices.
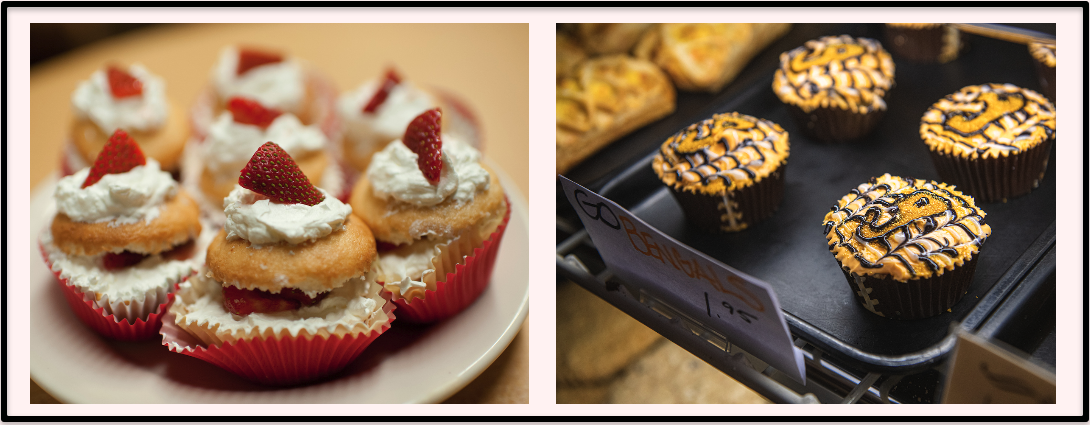
Choose Image Width

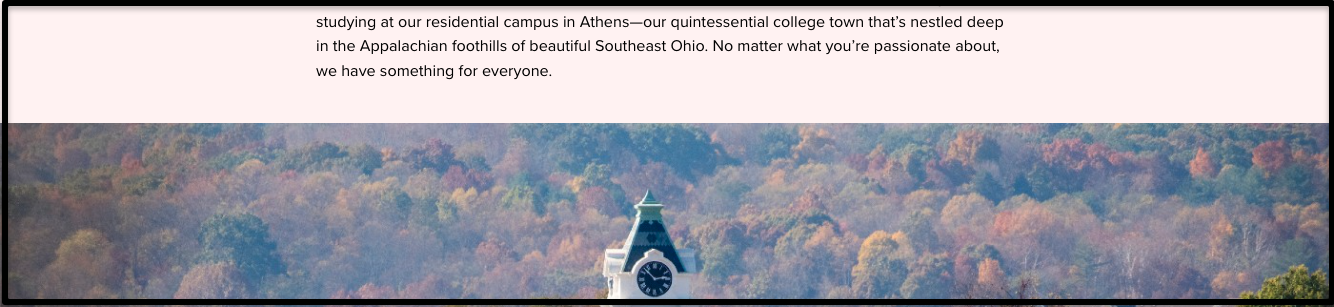

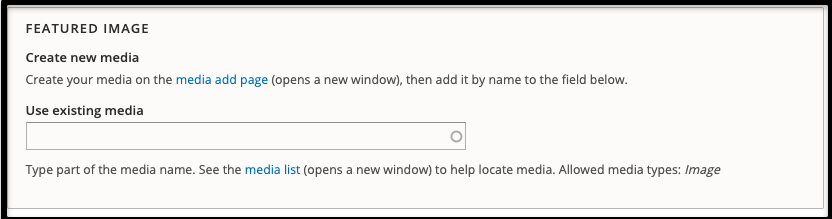
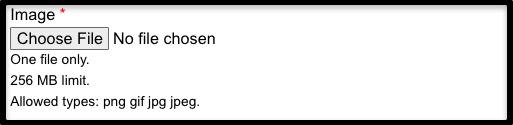
Choose your image
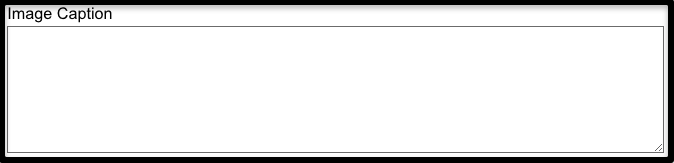
Add Optional Image Caption
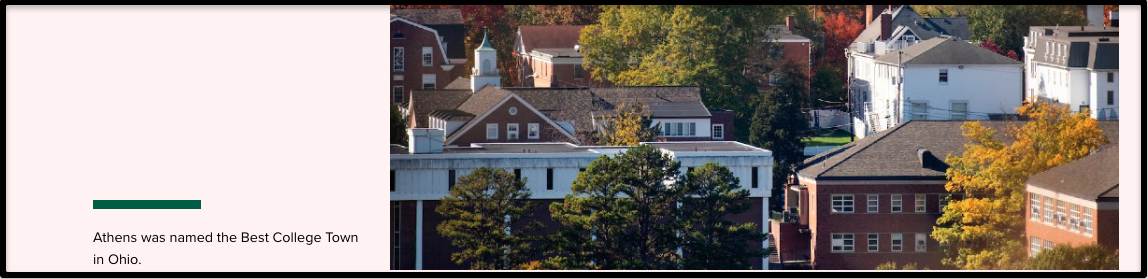
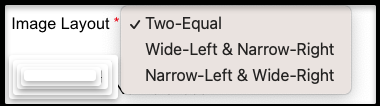
Choose the image layout


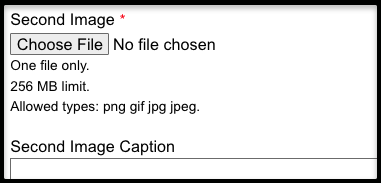
Add the second image details
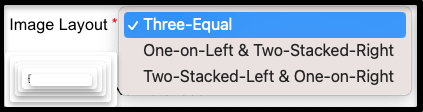
Choose the image layout
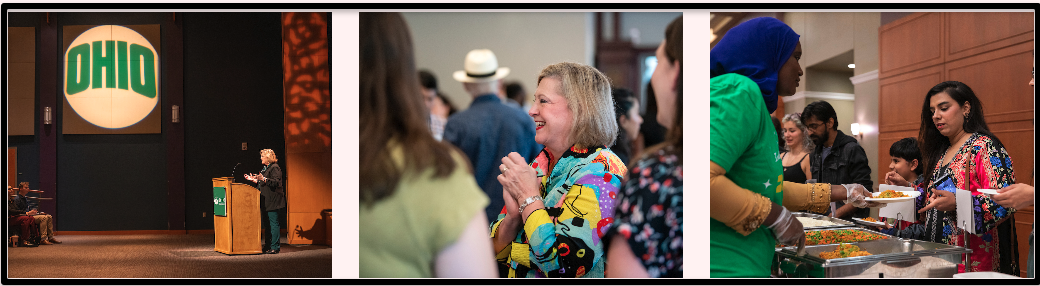


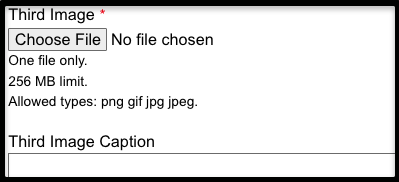
Add the third image details
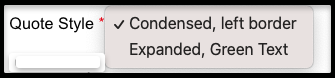
Choose Quote Style
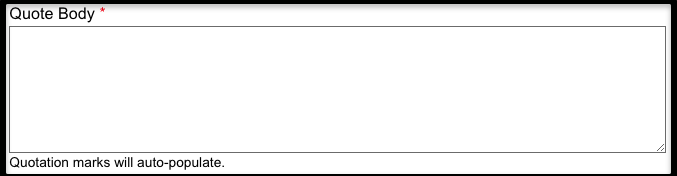
Add Quote Body
Add Quote Source

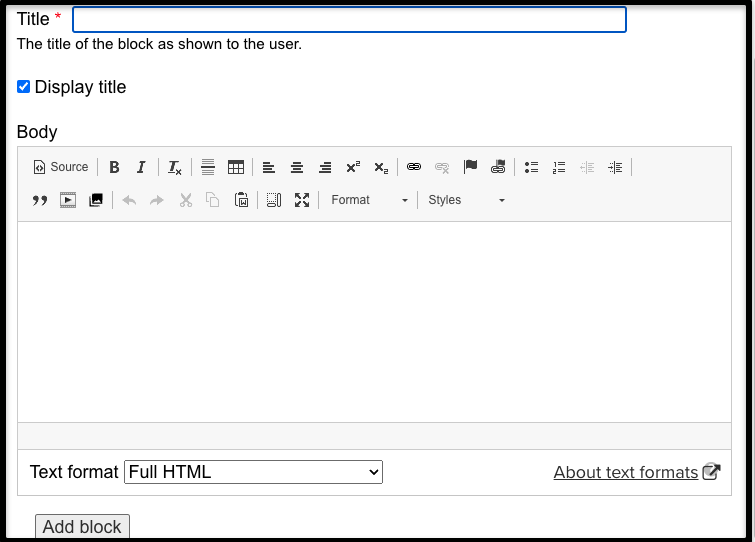
If you want an actual Heading to display, you must create that within in a text block. Use the editing toolbar to format your text correctly.
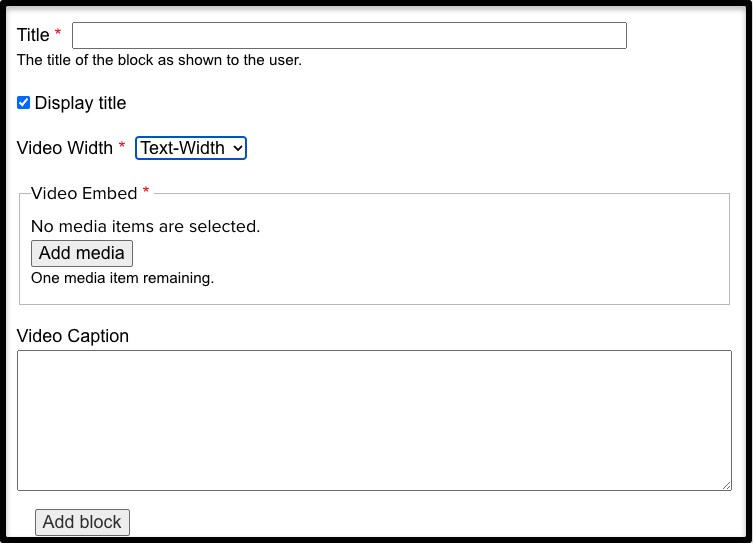
Videos can display as text width or full width on the page. Select add media and then add the YouTube URL. You can add an optional video caption.
Hover over the block and use the crossed arrows to drag and drop the blocks to another position on the page. This may be easier to do if you uncheck the Preview Content box (found at the top of the screen).
To edit an existing block, you must be in Layout mode. Hover on the block and select the gray pencil icon in the top right corner of the block. Note: If a layout has already been saved, then you must access the page by selecting the Title on the node listing page.