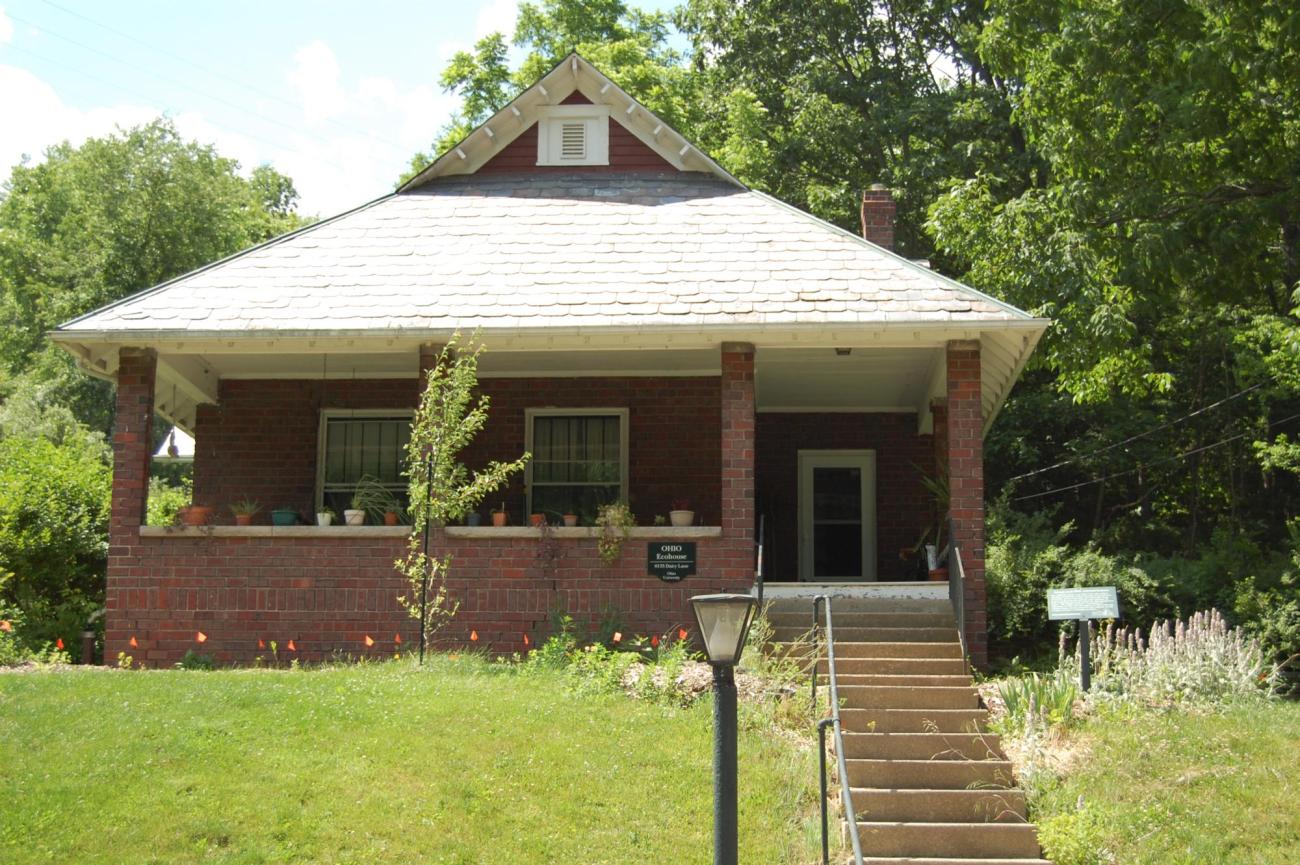
The Ecohouse Garden
Ecohouse Community Garden Guidelines
The following rules are enforced on the Ecohouse property to maintain the health & safety on Ecohouse residents, gardeners, and our local environment:
- Each gardener is responsible for the maintenance and upkeep of their garden plot. Watering, weeding, harvesting and any other garden related maintenance are all the responsibility of the gardener. Gardeners may arrange for other gardeners to water their plots.
- The Ecohouse Community Garden will utilize organic principles, gardeners will not use synthetic fertilizers, insecticides or weed repellents.
- If a gardener must abandon a plot for any reason, they will notify the Garden Coordinator immediately.
- If a plot becomes unkempt, the gardener associated with that plot will be given 2 weeks' notice to clean it up. At that time, if no action has been taken, the plot will be re-assigned or tilled in.
- Gardeners will keep weeds at a minimum and maintain the areas immediately surrounding their plot(s), if any.
- Gardeners will keep trash and litter out of the plot, as well as from adjacent pathways and fences.
- Gardeners will clean and return borrowed tools to the storage area when done. If any are damaged, the gardener will notify the Garden Coordinator.
- The OHIO Ecohouse is a student residence and, as such, gardeners agree to respect the space and privacy of those living in the house. Therefore, gardeners will use the compost bin and rain barrel that belong to the garden, not the personal ones of the household.
- Gardeners may only garden during daylight (dawn to dusk). Being on the Ecohouse property outside of daylight hours is considered trespassing.
- Gardeners are required to attend at least one of the Community Garden workshops/workdays. There are no other costs associated with adopting a plot.
- Neither the garden group nor owners of the land are responsible for gardeners' actions. Gardeners must therefore agree to hold harmless the garden group and owners of the land for any liability, damage, loss or claim that occurs in connection with use of the garden by the gardeners or any of their guests.
What is Organic Gardening?
Organic gardening abstains from the use of any synthetic, chemical-based treatment pesticides and fertilizers. It aims to incorporate the entire landscape design and environment in order to promote healthy soil and produce productive plant life.
Organic Pest & Disease Control
For starters, prevent fungal attacks by not overcrowding your plant starts or seeds. Additionally, don't let them overheat, don't feed or fertilize them too much, and water them regularly. If pests are present, it is important to assess whether or not they are causing sufficient damage to warrant taking measures against them. If necessary, pests should be managed with some physical solutions instead of the application of chemicals. For example: rodents, raccoons, and deer can be fenced out of the garden. Birds can be kept out with netting or simple objects that spin such as pinwheels. Horn worms, slugs, and snails can be picked off and aphids can be dislodged by spraying with a hose. Oils of hot peppers or garlic can be applied to leaves of affected plants to make then less appealing to predators.
If you have the space, consider building raised wooden beds to help deter some pests, keep crops from being stepped on, prevent soil from becoming too compacted, and allow proper spacing of plants to prevent from harmful over-crowding. Additionally, using companion plants can be vastly helpful in aiding plant growth and preventing pest presence. Some commonly utilized companionship methods are: chives or garlic near carrots to deter root flies and basil near tomatoes to deter aphids. Lastly, try to pull weeds by hand instead of spraying them with chemicals.
Organic Compost
Buy compost from a local entity or create your own with the waste from your household, it could be easier than you think! Your compost can be a simple pile or contained within a custom pen or bin with a lid. Compost needs a proper mixture of nitrogen (green matter), carbon (brown matter), soil, moisture, and oxygen. Adding alternating layers of carbon (leaves, garden/lawn trimmings) and nitrogen (food scraps), with a thin layer of soil in between. Turn or shake the pile as new layers are added to oxygenate and be sure to keep the pile only slightly moistened by adding water. Both of these actions will foster material breakdown and microbe growth. Check out this information from the EPA about home composting to learn more.
Tips for Growing Potted Plants
Gathering Materials:
- Reuse your old things! You can make a pot out of many different containers. Some good examples include empty olive oil cans, plastic or rubber buckets and tubs, and wooden wine or fruit boxes.
- When starting to grow crops in pots, pay attention to the amount of space a particular crop needs. Find makeshift pots that are deep, shallow, wide, and narrow and match the crop with the right pot. For example, A quick growing salad lettuce could survive in a shallow container such as a kitchen colander but a rooted crop would need a pot with more depth.
- Consider creating your own mini greenhouse. If you have a large clear plastic storage box and detachable lid on hand, put containers filled with plants inside of it and place it in your outdoor space. If you place your mini greenhouse outside with the lid on, the internal temperature will be a few degrees warmer than outside. Ventilate the box on very warm days by putting a stick under the edge of the lid.
- If you have the space consider building raised wooden beds. Raised beds help deter some pests, keep crops from being stepped, keep soil from becoming too compacted, and allow proper spacing of plants to prevent harmful over-crowding.
Starting Healthy Plants:
- Start plants in newspaper pots. The newspapers can be left to degrade naturally and doesn't need to be removed when the plant is relocated into a bigger pot or the ground. Newspaper pots also help seedlings maintain their health, as they prevent seedling roots from being disturbed the way they would be when normally relocating them.
- Sow seeds with a purchased organic potting mix containing limited quantities of nutrients and fertilizers. When sowing seeds, you need sterile soil. Vegetable seeds need sterile soil with no weed seeds or pathogens to keep young seedlings from being damaged. Steer clear of chemically enhanced mixtures.
- The best way to gauge the quality of your soil is to get it tested. You can get a home testing kit or send a sample to your local agricultural extension office. Soil testing offers a breakdown of pH and nutrient levels, as well as treatment recommendations. Make sure you let the testers know you are choosing the organic route.
- Not everyone has the time or space to grow all their vegetables from seeds. You are not any less of a gardener if you purchase organic young plants instead of sowing your own organic seedlings. Just remember to research the optimal conditions for your young plants and carefully plant your them in appropriately-sized containers.
Tips created by Cheyenne Fenstemaker